Autonomous Driller
Published:
The Autonomous Driller
3D-printed autonomous vehicle powered by a repurposed drilling machine
Abstract
This project explores the construction of a 3D-printed autonomous vehicle designed for exploration and small-scale delivery — most notably, serving chocolate to detected humans on demand.
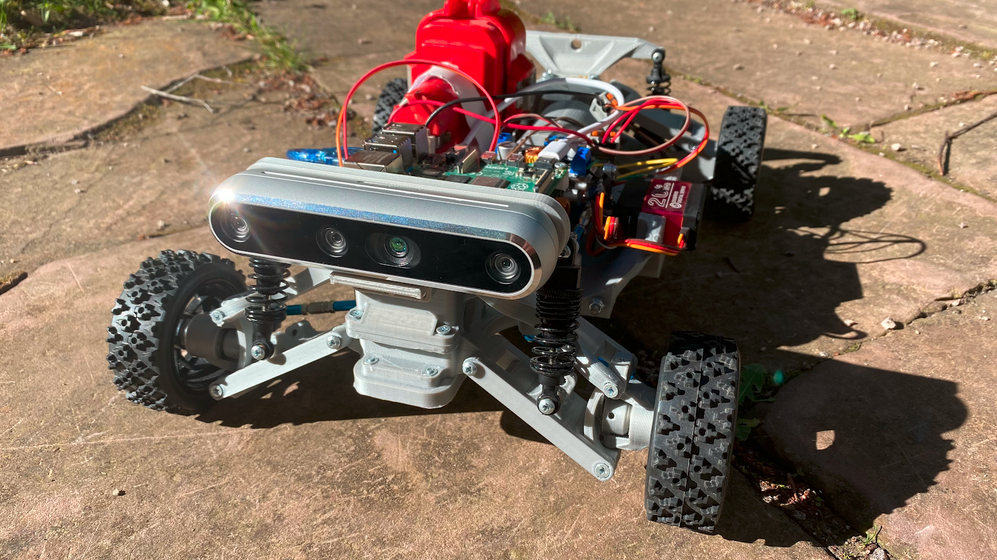
The platform combines repurposed hardware with modern robotics techniques. For perception, mapping, and human detection, an Intel RealSense D455 depth camera is used, enabling real-time SLAM and navigation.
A natural question arises: Why is it called the Driller?
The answer lies in its heart — quite literally.
You can read the full story below.
Background
After completing my previous project, the 2WD ROSduino, I wanted to take the next step: autonomy.
I began researching suitable sensors for navigation:
- Raspberry Pi Camera Module – ~50 USD
- RP LIDAR – ~120 USD
- Depth Camera – ~240 USD
Compared to the base ROSduino cost (~40 USD), this felt excessive. Then came an unexpected twist: my father presented me with a broken drilling machine.
That moment sparked an idea.
Instead of upgrading a small robot car, why not build something entirely new?
This is how the concept of the Autonomous Driller was born.
What does a car have to do with a driller?
When my father casually asked:
“Do you need parts from this? It’s broken and I don’t need it anymore.”
I saw opportunity where others saw scrap.
I opened the casing and discovered an impressive compact engineering system: a small motor paired with a powerful planetary gearbox.
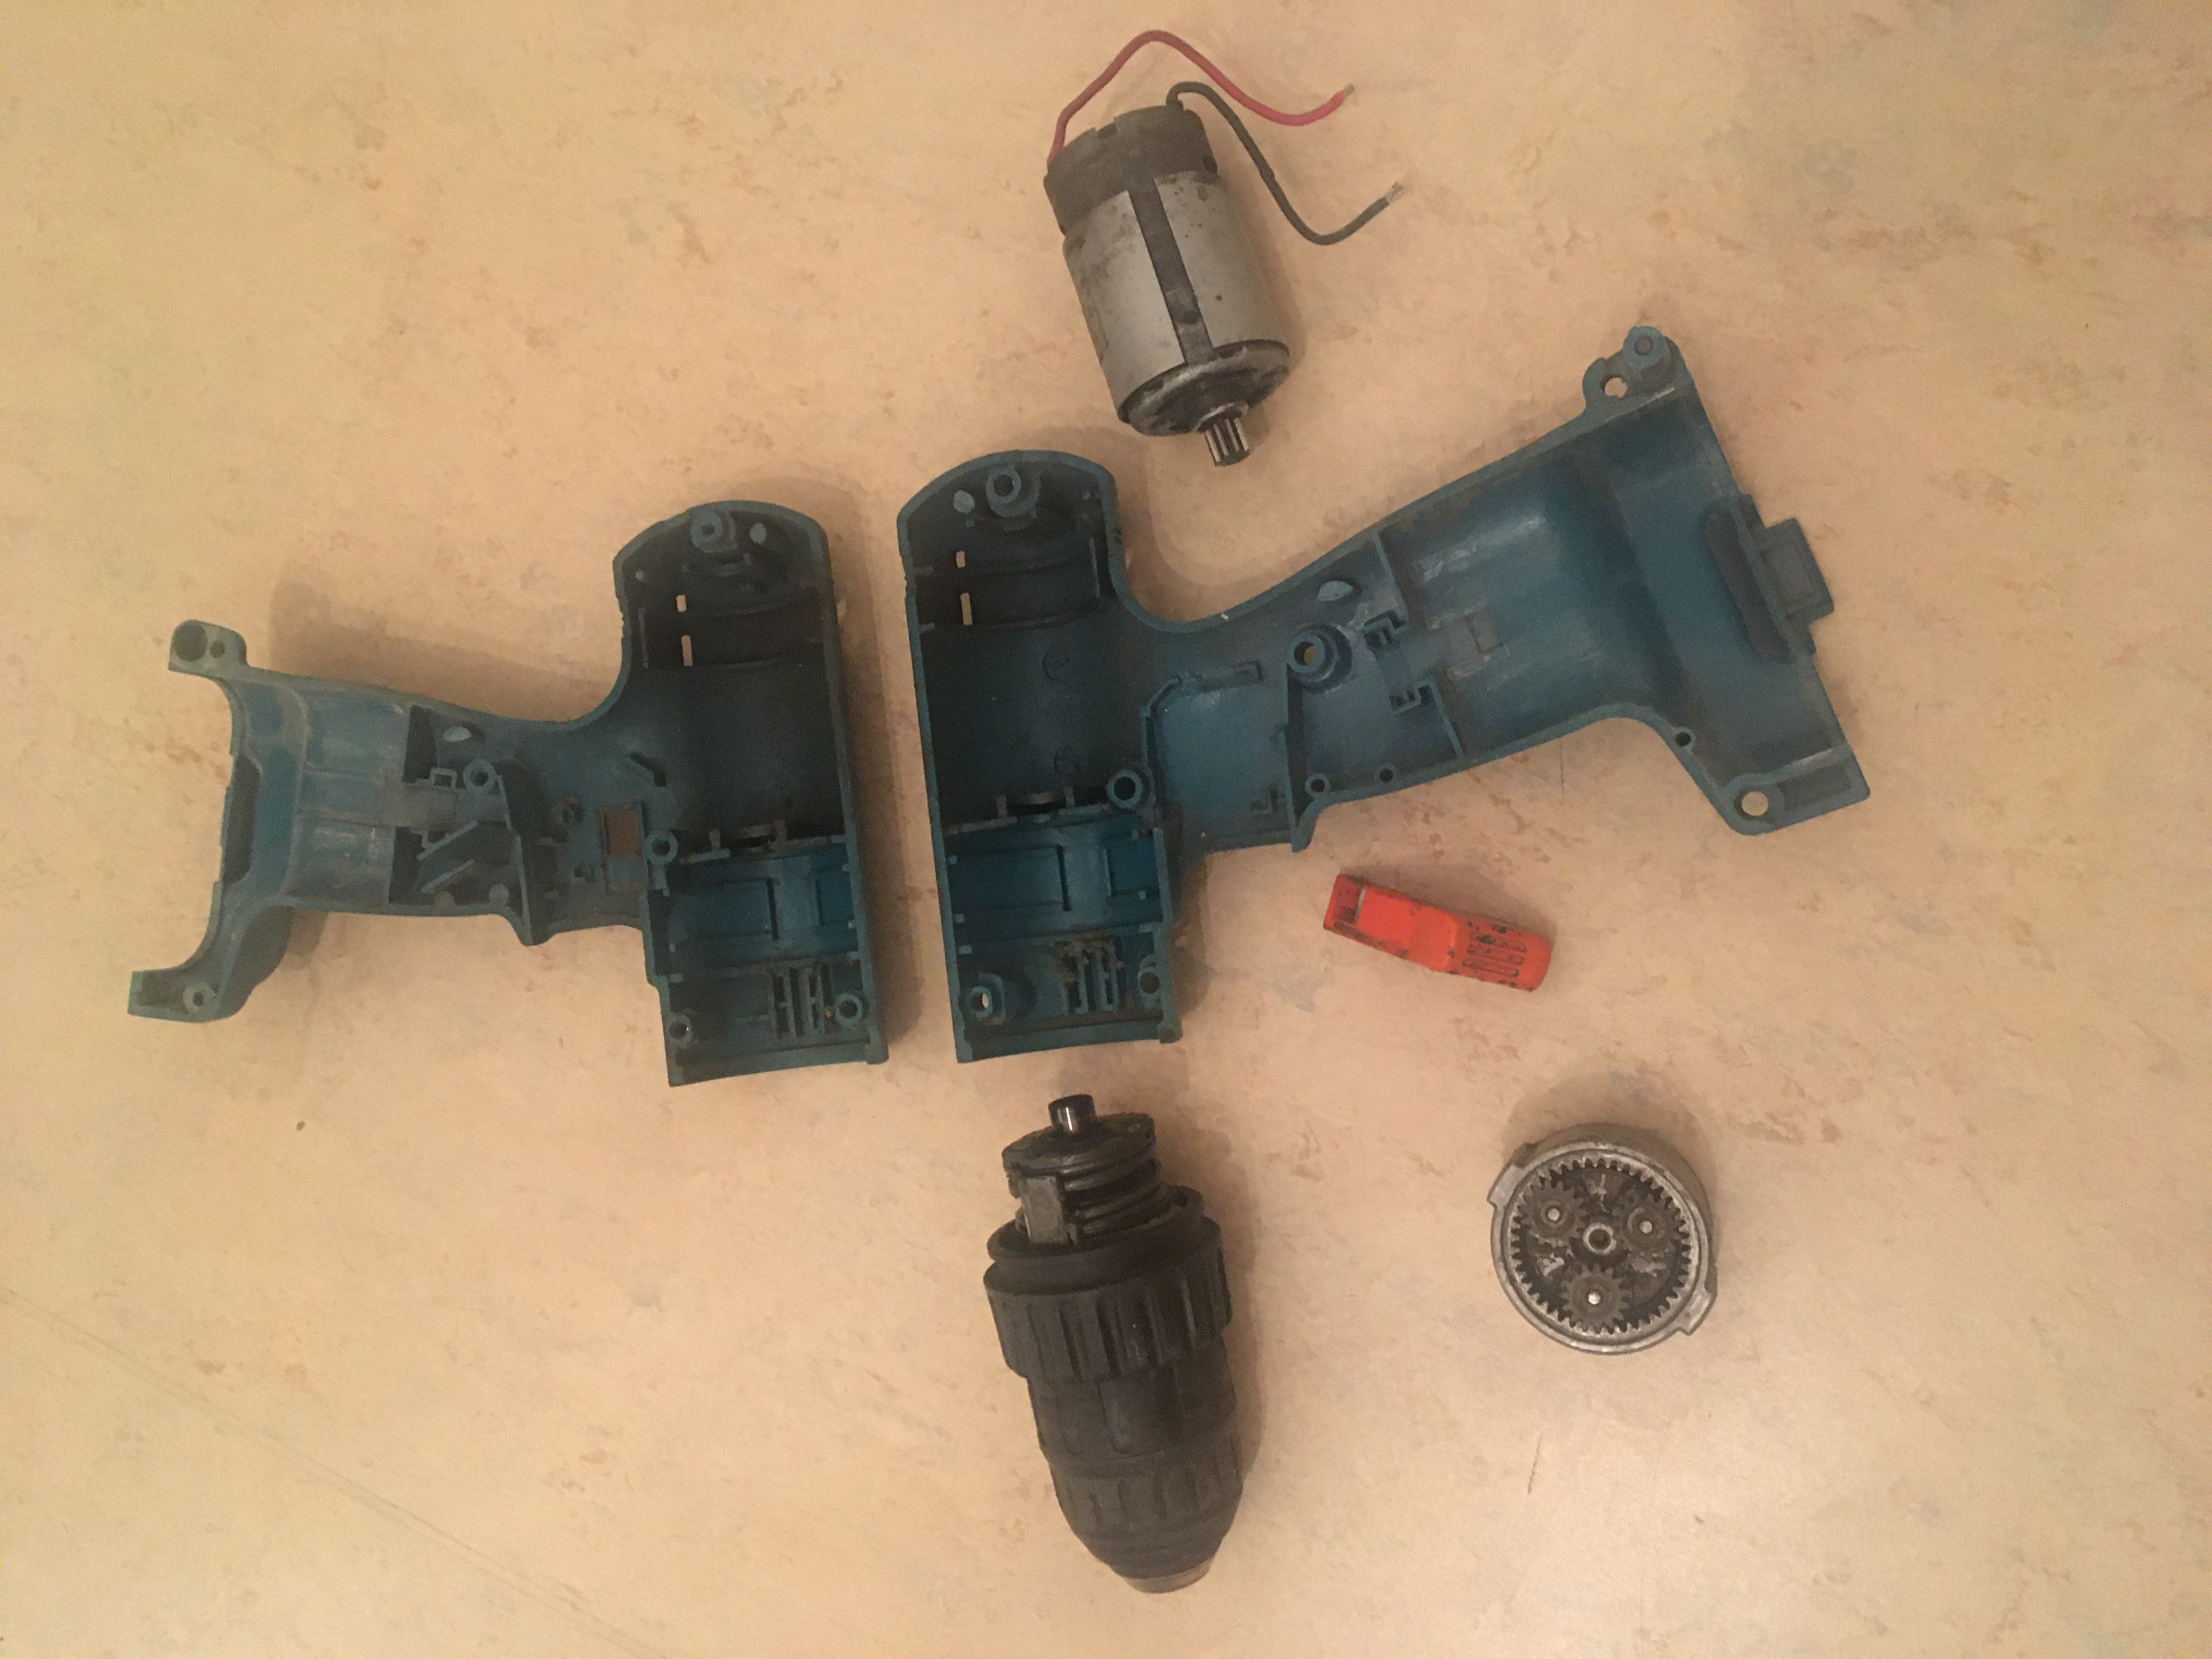
The motor was rated at:
750 W ≈ 1 HP
For comparison:
- Typical ROSduino motors: ~25 W
- This motor: 30× more powerful
The first challenge was control. I purchased a PWM MOSFET motor controller and tested the setup successfully — confirming that the motor could be reused.
Below: early experiments holding the motor while testing output torque.
From aluminium to 3D printing
With a functioning drivetrain, I began designing the vehicle chassis.
My first iteration used aluminium sheets scavenged from my father’s workshop — purely as a rapid prototype.
While functional, this approach lacked precision and scalability. I transitioned to 3D printing and used Tinkercad for fast CAD prototyping. Components were first modeled at real scale:
- Drill motor
- Li-ion battery
- Motor controller
- Arduino Uno
- Raspberry Pi
For the base chassis, I adapted the excellent open-source design
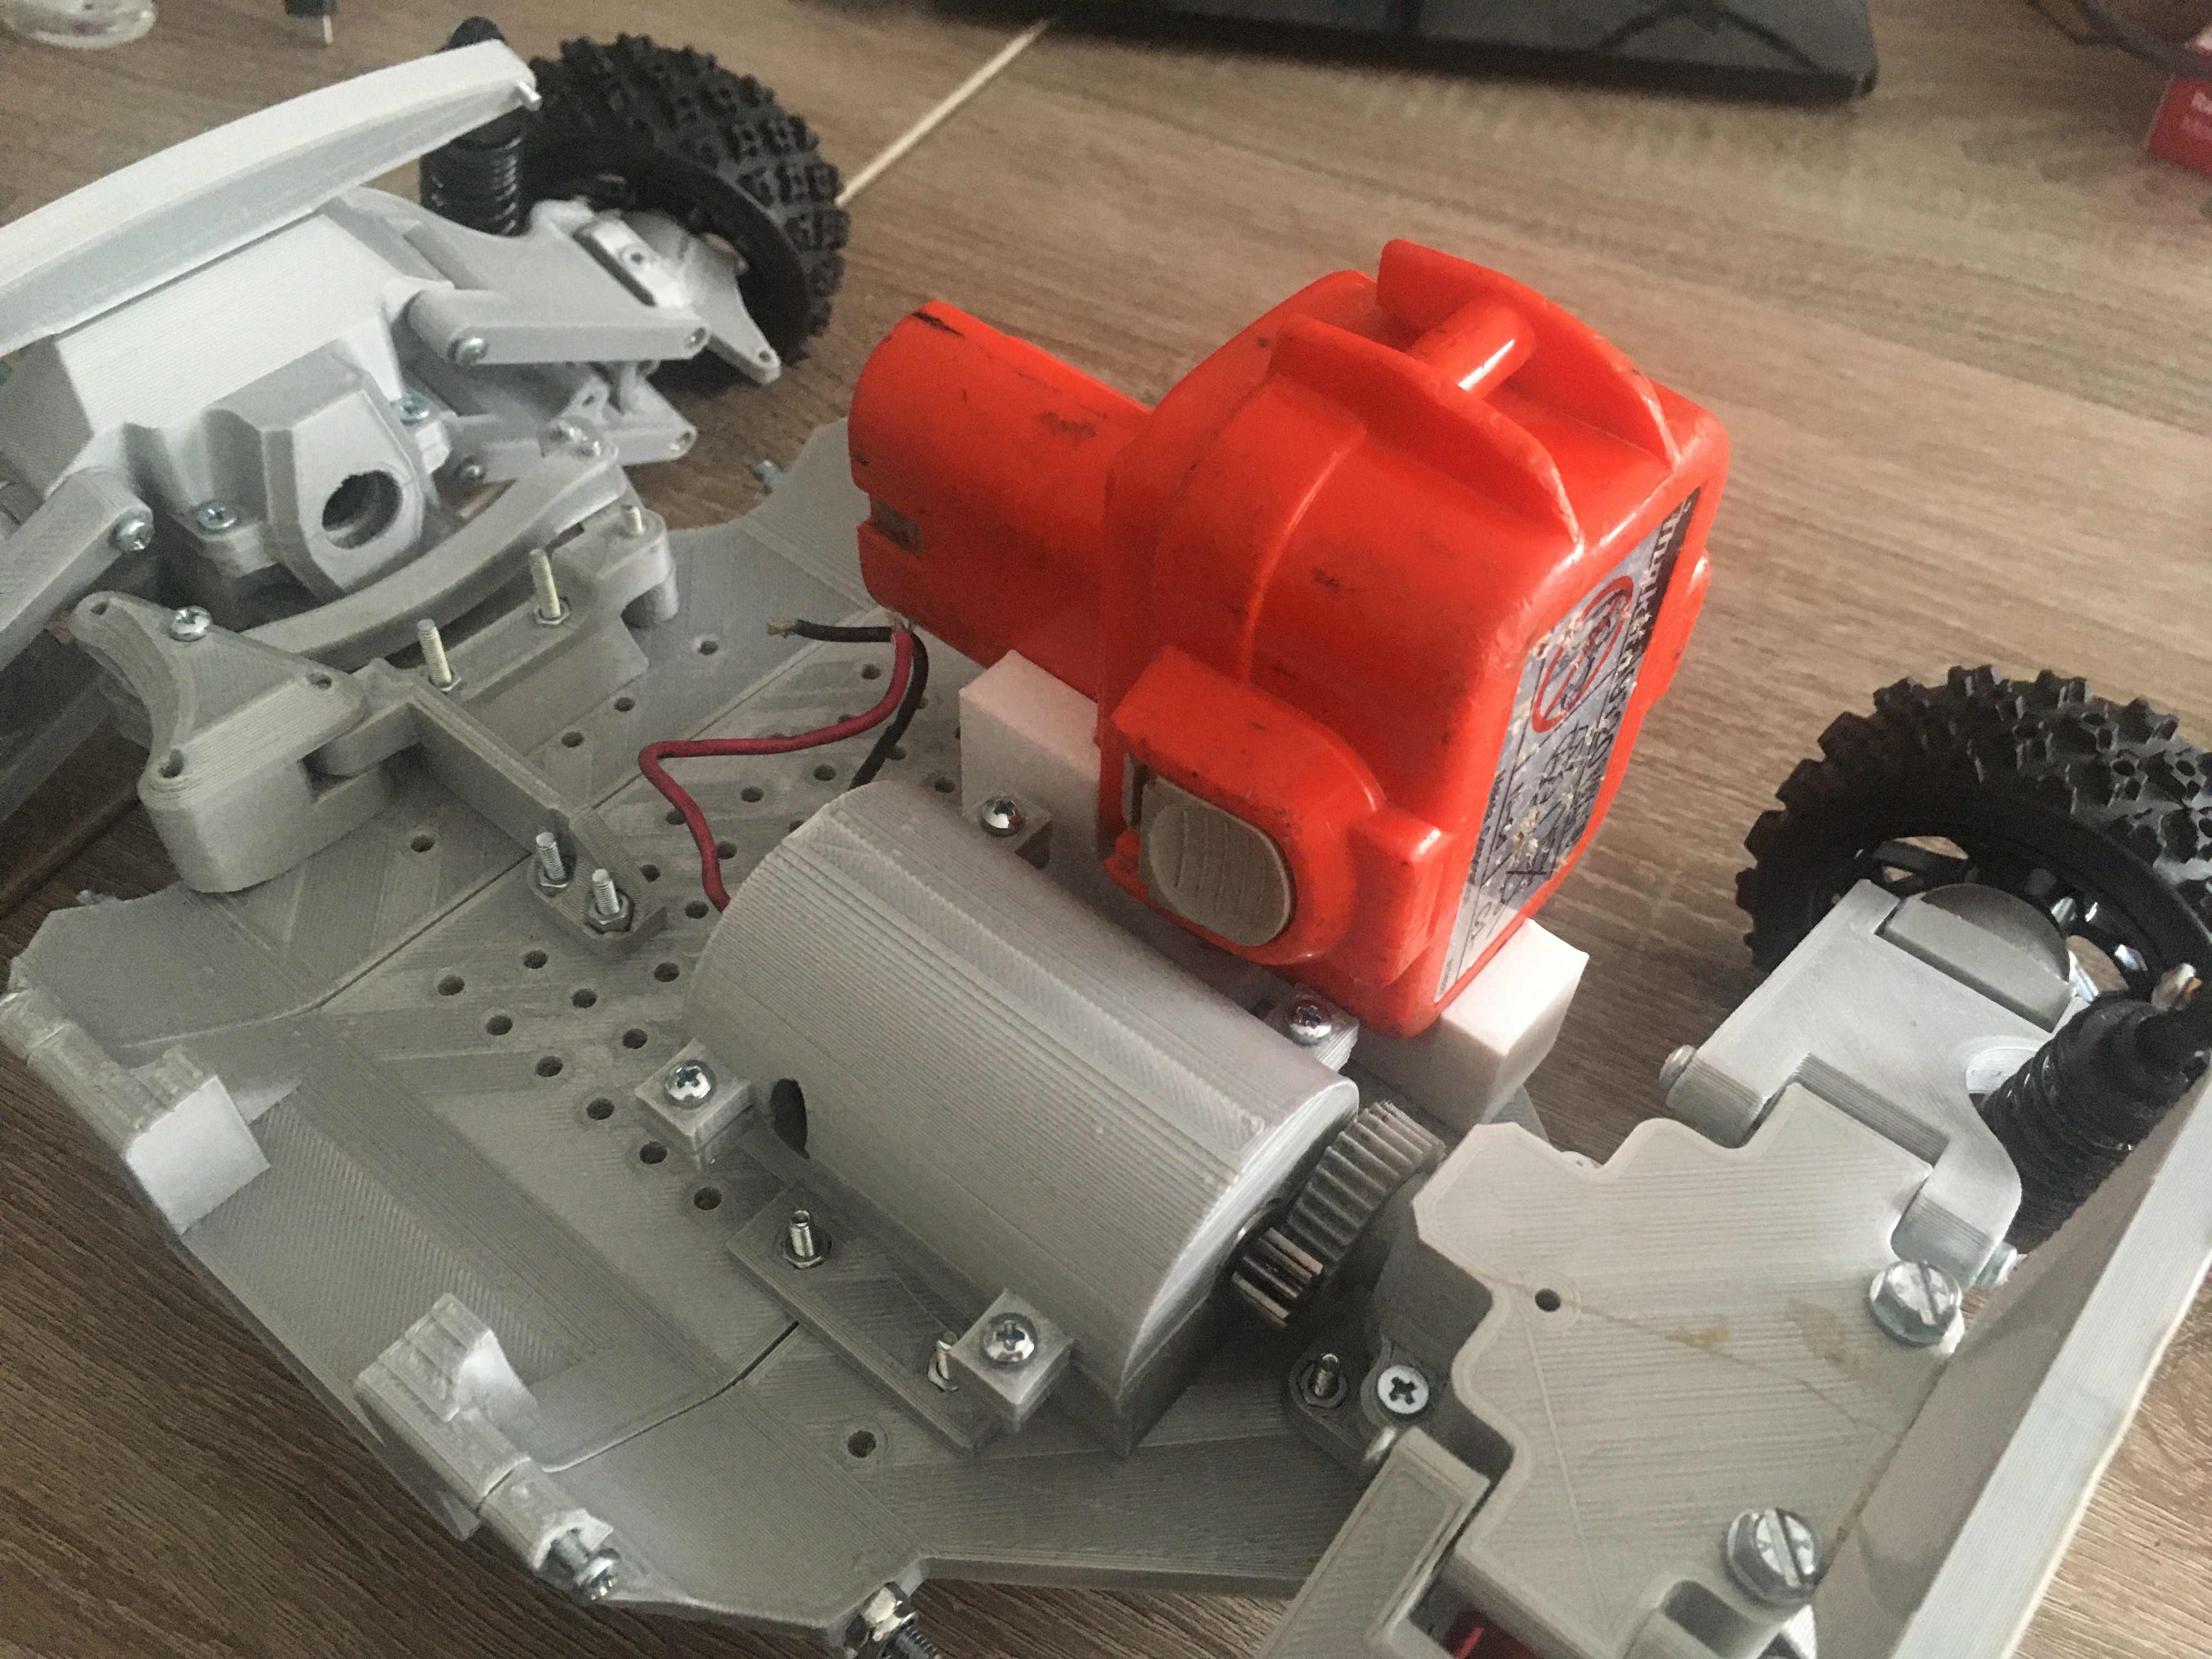
Tarmo3 by Kris Shellman, and fully redesigned the drivetrain, axle system, and gear layout to support significantly higher torque.
Initial drivetrain test:
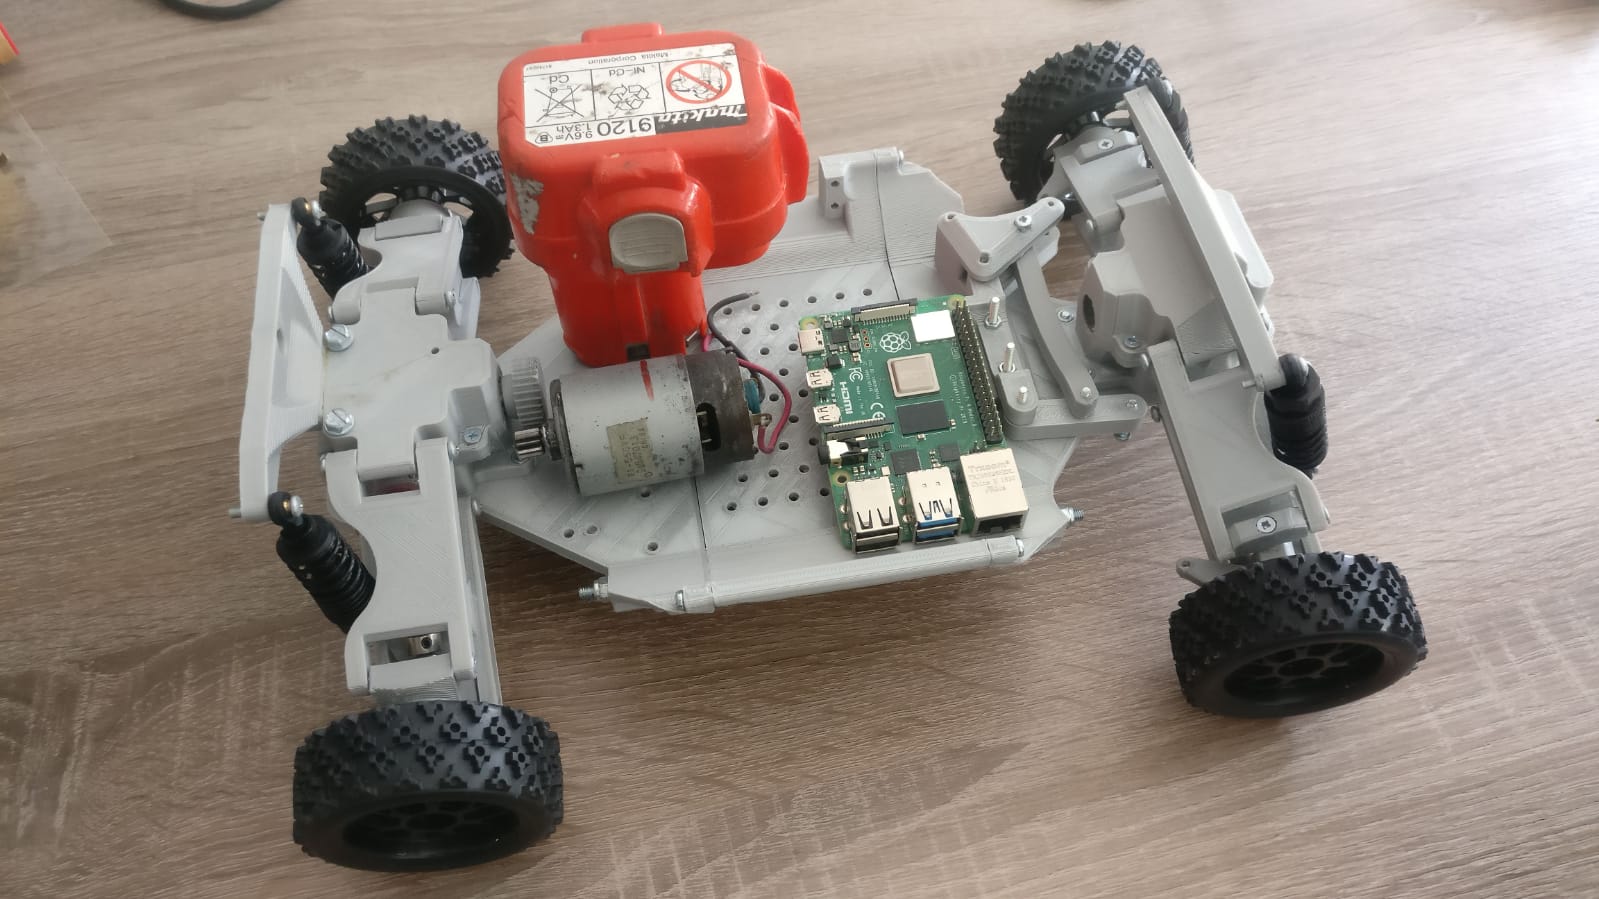
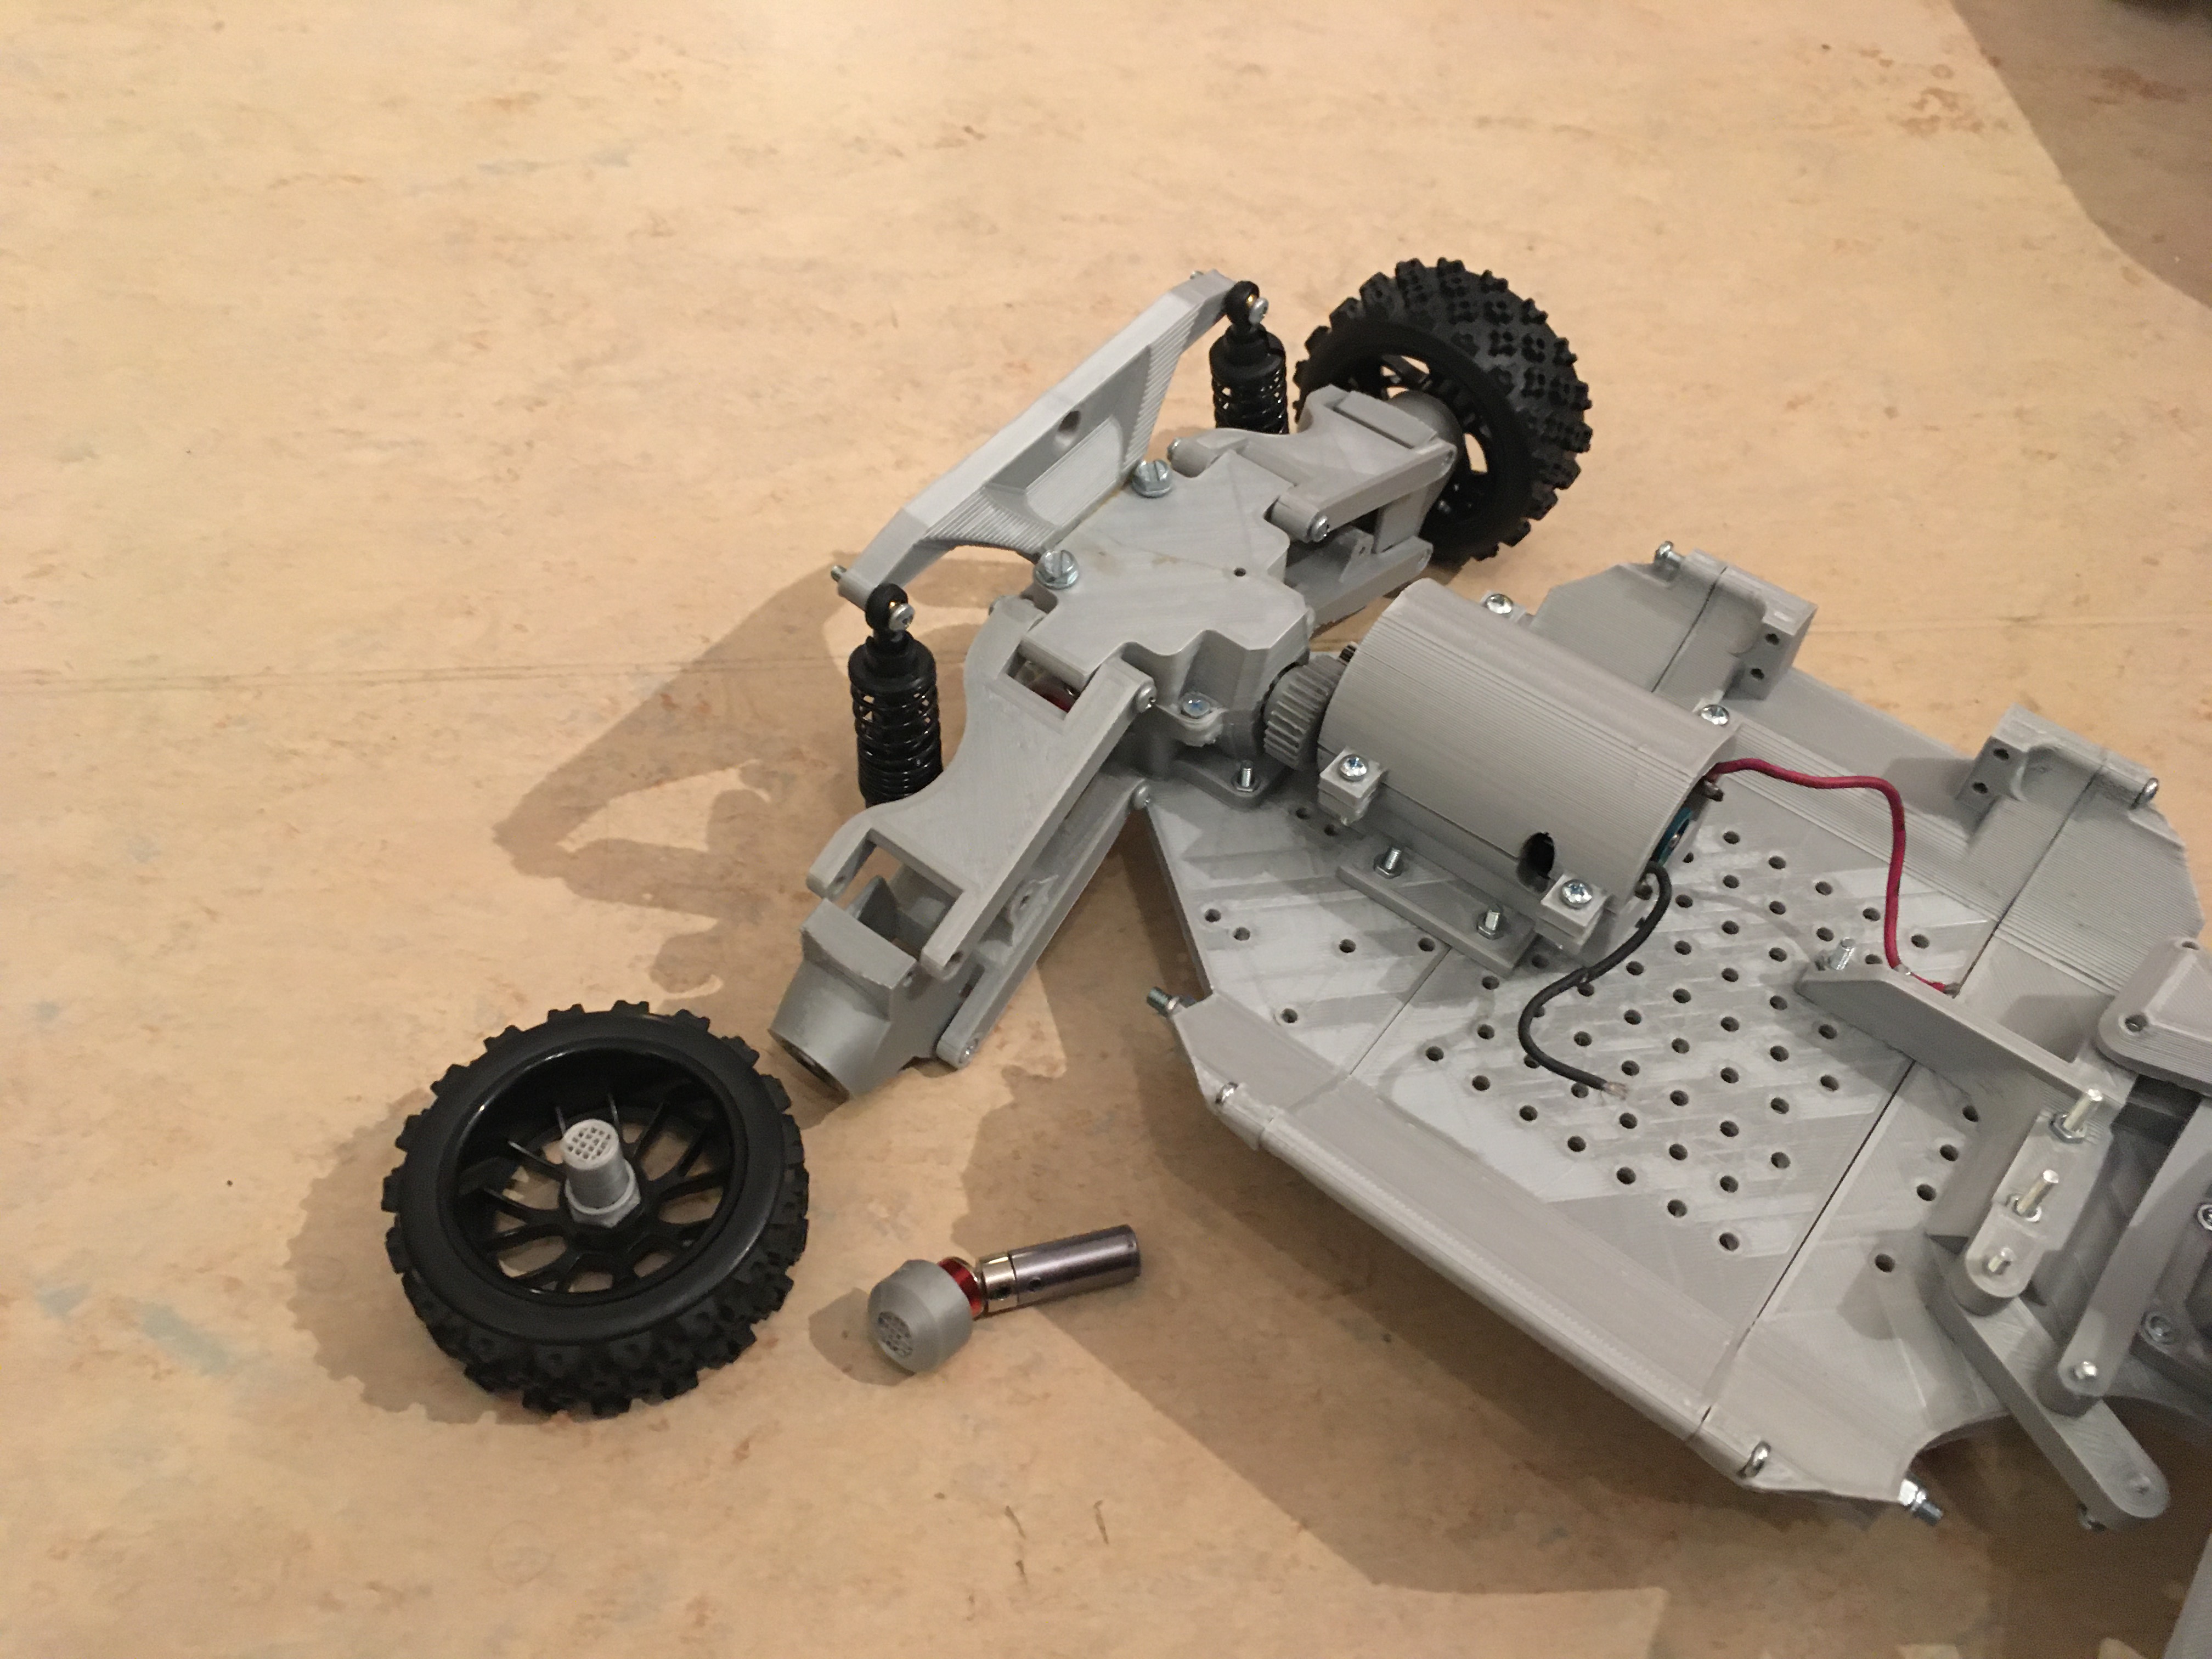
And the assembled structure including electronics:
ROS Communication
This vehicle runs on a distributed ROS architecture:
- MOSFET: low-level motor control
- Raspberry Pi: execution and middleware
- Laptop: monitoring and command interface
Communication happens via SSH and WiFi using the ROS master-slave model.
Outtakes & Lessons Learned
Never connect a high-power motor directly to a battery
Out of curiosity (and slight laziness), I bypassed the controller and connected the 750 W motor directly to the battery.
The result: instantaneous peak-torque and structural failure.
No injuries, only learning.

First Test Drive
The first successful remote-controlled test run of the Autonomous Driller. I capped the output power at 10%.
High torque. High curiosity. Low budget.